User profile
The User profile menu shows the data for your account and lets you update it.
Update user data
In the User details section you can edit your personal information. Click Save to apply your changes.
Add or change a profile picture
If no profile picture has been uploaded yet, your initials are shown on a circular colored background.
The profile picture appears as a circle at the top of the page. Ideally, use a square image. Supported file types are .jpg and .png.

Fig. 1: Profile picture
Click the pencil icon in the bottom-right corner of the circle to change the picture.
A dialog opens to select a file. After you choose an image and confirm, it is uploaded and displayed.
Change password
You can change your password here. Enter your current password, then enter the new password twice. The two fields help prevent typos from locking you out.
Please note the password requirements. Memida helps you meet them: as soon as you start typing, fulfilled requirements are highlighted in green. Once all requirements are met you can save the new password with the Change button.
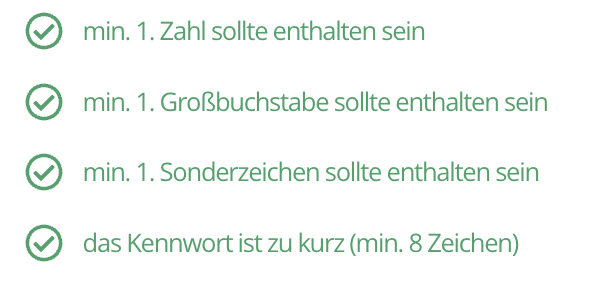
Fig. 2: Requirements for your new password
The data managed by Memida grows in value over time and should be well protected. That’s why the password requirements are high.
Settings
Enable dark mode
Memida offers light and dark color schemes. Use Adjust view to switch to the dark theme.
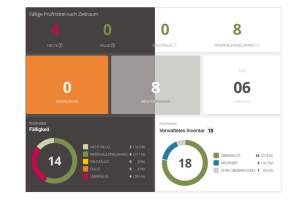
Fig. 3: Dark and light mode
Change language
You can change Memida’s interface language here. Currently, German and English are available. The UI switches language immediately; content itself is not translated automatically.
Automatically assign cost centers
Memida automatically assigns newly created cost centers to you. You can disable this automation here.

Two-Factor Authentication (2FA)
Two-factor authentication adds an extra layer of security to your account. In addition to your password, you will need a time-limited code generated by an authenticator app at every login.
We recommend that at least all administrators enable 2FA. Administrators have access to sensitive settings, user management, and master data, so additional protection is particularly important.
Enable 2FA
- In your user profile, navigate to General > Security.
- Click Enable two-factor authentication.
- Scan the displayed QR code with your authenticator app (e.g., Google Authenticator, Microsoft Authenticator, or Authy).
- Enter the generated code to confirm.
After setup, you will be asked for the additional code at every login. Your account is protected even if your password is compromised.
Disable 2FA
If you want to disable two-factor authentication, you can do so in the General > Security section. You will need to enter your current password and a current code from your authenticator app to confirm.
If you have any questions or need help disabling 2FA, please contact us.
Memida update notifications
Memida notifies you when an update has been released. A small blue dot next to the bell indicates a new notification. The bell is located in the top right corner, to the left of the profile picture.

Fig. 4: Notification bell
You can disable or re-enable this notification here:
 Fig. 5: Enable or disable update notifications
Files
The Files section lists all files you have exported. From here you can download, archive, rename, or delete them.
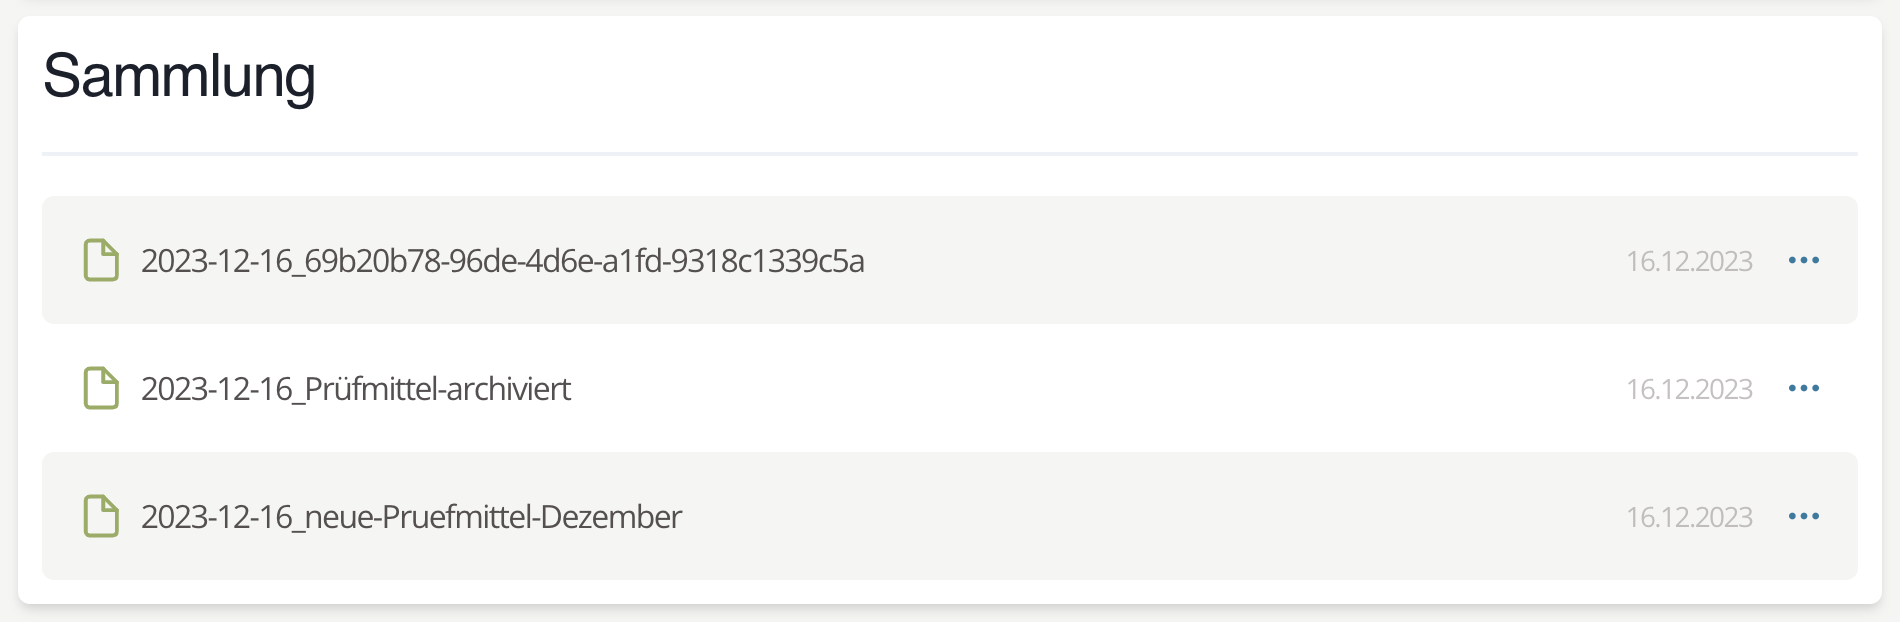
Fig. 6: Files collection
Click the three dots at the end of an entry to open the context menu. Depending on the file status, different options are available:
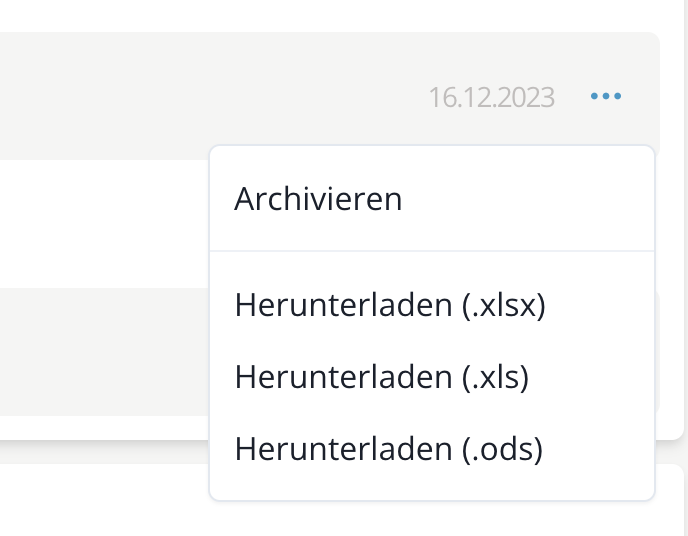
Fig. 7: Files – context menu before archiving
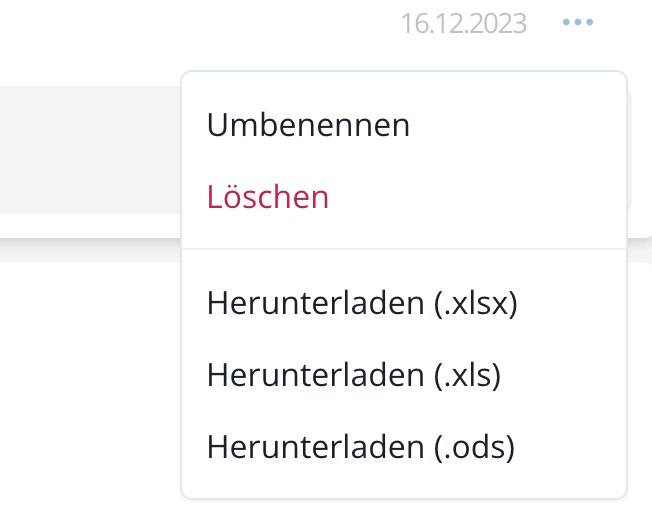
Fig. 8: Files – context menu after archiving
Download files again
When you download tabular data from the context menu (not available for PDFs), you can choose the format. Currently you can export in:
- XLSX (Office Open XML)
- XLS
- ODS
Archive files
If you want exported files to remain in the system for more than three days and be stored permanently, you must archive them.
Click Archive in the file’s context menu.
All files that are not archived are automatically deleted after three days.
Rename files
Archived files can be renamed. In the context menu of an archived file, click Rename. The entry turns into an input field with a green confirm button:

Fig. 9: Rename files
Enter the new file name and click the green button to save it.
Delete files
Archived files can be deleted permanently. In the context menu of an archived file, click Delete.
The file is deleted without asking for confirmation.